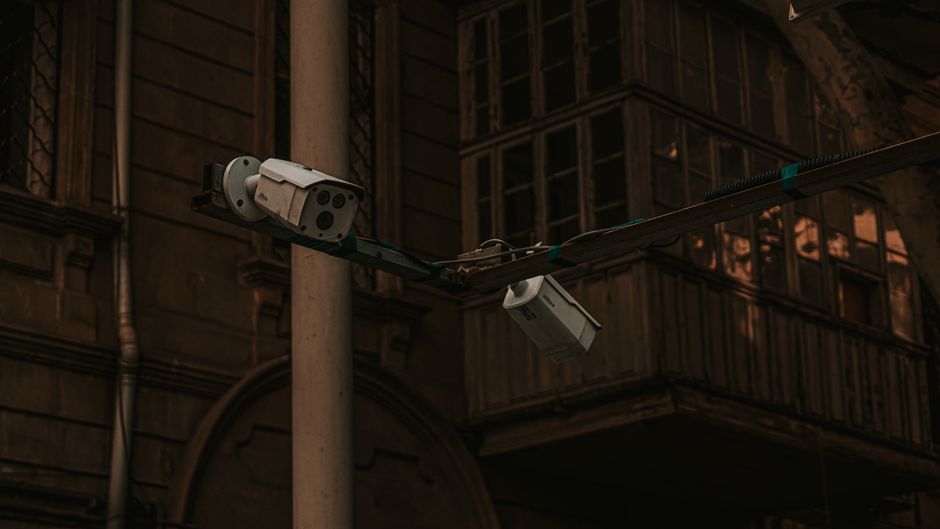
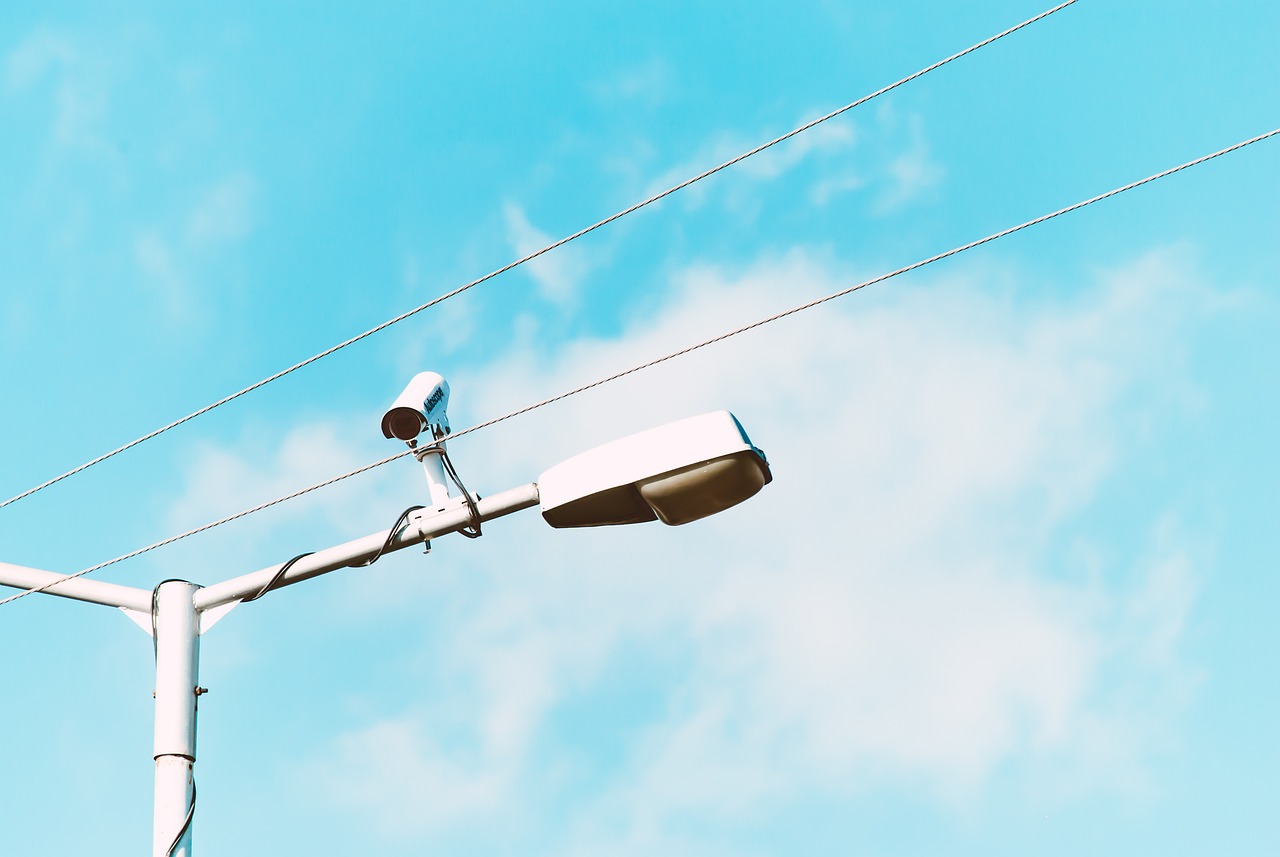
Poles let you put a camera exactly where the view is: at the end of a dock, in the middle of a field, on a ridge above a ski run, at the edge of a beach. They also bring problems walls don’t have: wind, sway, lightning, and a foundation someone has to dig. This guide covers pole sizes, how cameras attach, how much wind force to expect and how to keep the picture steady.
Pole sizes and what fits them
Camera pole mounts are sold by the range of pole outside diameters they fit. Measure the outside diameter (or circumference ÷ 3.14) where the camera will go, not at the base, because many poles taper.
| Pole | Outside diameter | Typical use | Notes |
|---|---|---|---|
| 1.5 in steel pipe (NPS) | 48.3 mm | Short masts, roof masts | Light loads only; sways when tall |
| 2 in steel pipe (NPS) | 60.3 mm | Camera and small router | Common size for strap-on mounts |
| 3 in steel pipe (NPS) | 88.9 mm | Camera plus small solar panel | Stiffer; good for zoomed views |
| 4 in steel pipe (NPS) | 114.3 mm | Camera, panel, battery box | Typical for off-grid camera poles |
| Tapered steel or aluminum light pole | about 100 to 250 mm at camera height | Parking lots, streets, plazas | Needs the pole owner’s permission |
| Wood pole | about 200 to 300 mm | Farms, rural sites | Lag-bolt brackets; never use utility poles without the utility’s permission |
Pipe outside diameters follow the standard US pipe sizes (NPS); the nominal size is not the outside diameter, which surprises many first-time buyers. A “2 inch” pipe is 60.3 mm (2.375 in) across.
How cameras attach to poles
- Stainless steel straps (band clamps). The most flexible method: one adapter fits a wide range of diameters. Axis, for example, sells the T91B47 pole mount in two versions, one for poles of 50 to 150 mm (2 to 6 in) and one for 100 to 410 mm (4 to 16 in), tightened with two marine-grade (SS316L) stainless straps, according to its product page.
- U-bolt clamps. Strong and simple on round pipe of a known size. Use two U-bolts, matched to the pipe size, with lock nuts.
- Through-bolting. On wood poles or square posts, a bracket bolted through the post. Seal the holes.
- Pole-top adapters. A plate that slides over the top of the pole, useful for a PTZ dome or a camera with a 360° view.
Hose clamps from the hardware store are not camera mounts: they stretch, rust and let the camera slowly rotate in the wind.
Wind: the camera is not the problem
Wind pushes on everything mounted on a pole with a force that grows with the square of the wind speed. A simple estimate is: force ≈ 0.613 × speed² × area × drag coefficient (speed in meters per second, area in square meters, force in newtons). For a flat plate, a drag coefficient of about 1.2 is a reasonable round figure for a rough estimate.
| Wind speed | Camera | Small dish | 100 W panel | Panel’s bending effect at 4 m up |
|---|---|---|---|---|
| 20 m/s (72 km/h, 45 mph) | 6 N | 23 N | 147 N | about 590 N·m |
| 30 m/s (108 km/h, 67 mph) | 13 N | 51 N | 331 N | about 1,320 N·m |
| 40 m/s (144 km/h, 89 mph) | 24 N | 91 N | 588 N | about 2,350 N·m |
Two lessons. First, a camera alone hardly loads a pole; almost any sound pole will hold it. Second, a solar panel high on a pole is a sail. The bending effect at the base grows with height, so a panel mounted lower on the pole is much kinder to the foundation. Gusts, ice and local terrain add more. For a pole with panels or dishes, use a pole and foundation designed for your area’s design wind speed. In the US, that comes from the building code and ASCE 7; elsewhere, from the national code. Your pole supplier or a structural engineer can provide it.
Sway and vibration: the enemy of zoom
A pole can be strong enough and still move enough to ruin a stream. A wide view hides small movements. A zoomed view multiplies them: at 30° of view, a tiny twist moves the whole picture. To keep the image steady:
- Choose a larger diameter or thicker wall rather than a taller thin pole.
- Keep the camera close to the pole; long arms magnify movement.
- Add guy wires on tall, thin masts (with permission and a clear area).
- Mount the camera below the top of the pole where possible; the top moves most.
- Tighten straps again a week after installation; new straps settle.
Foundations and digging
A pole is only as good as its base. Freestanding steel poles usually sit in a concrete footing or on an anchor-bolt base. Follow the pole maker’s foundation drawing: depth and width depend on pole height, the load on top and the soil. In the US, call 811 before you dig so buried utilities are marked. Keep the pole well away from overhead power lines, both for installation and for the day a ladder or lift goes up.
Lightning and grounding
A metal pole on open ground is the tallest thing around. Ground it, and protect the cables that run from it to a building. Use an Ethernet surge protector at both ends of a long outdoor run, bond the pole to a ground rod, and bond that to the building’s grounding system so there is no voltage difference between them. In the US these rules live in the National Electrical Code (NFPA 70). This is work for a licensed electrician. See powering a camera.
Running the cable
Run the cable inside the pole if it has a hand hole and cap, or in UV-rated conduit strapped to it. At the bottom, the cable goes underground in conduit or as direct-burial cable. Leave a drip loop at the camera, seal the junction box and leave a coil of spare cable in a box at the base for future repairs. PoE carries power and data up to 100 m; for longer runs, use a PoE extender or a fiber link.
Worked example: an off-grid farm pole
A farm wants a live view over a pasture and a pond, 300 m from the nearest building. The plan: a 4 m steel pole, a PoE camera, a 4G router, a 100 W solar panel and a battery box.
- Pole. With a 0.5 m² panel on it, the pole must take roughly 330 N of wind at 108 km/h, plus gusts. A 4 in (114 mm) steel pipe in a concrete footing, sized by the supplier for the local design wind speed, is a sensible starting point. A thin 2 in pipe would bend or sway.
- Layout. The panel goes lower on the pole and faces the equator; the camera goes on top, facing away from the sun; the battery box sits at the base, where it is easy to reach and shaded.
- Mounting. Stainless straps for the camera adapter, U-bolts for the panel bracket, everything 316 stainless because of fertilizer and damp air.
- Protection. The pole is bonded to a ground rod; the router has a surge-protected antenna lead.
- Power and data. See solar sizing for the panel and battery, and internet for remote cameras for the router and data plan.
Permission and placement
Before you put up a pole, check who owns the land and the existing pole, whether your town needs a permit for a new structure, and whether the view crosses onto neighbors’ property. Street lights and utility poles belong to cities and utilities, and attaching anything to them without a written agreement is not allowed. On private land, keep the pole far enough from boundaries that, if it fell, it would land on your side.
Pole mounting compared
| Pole option | Cost | Steadiness | Best for |
|---|---|---|---|
| Existing light or sign pole | Low, if permitted | Good | Plazas, parking, streets (with the owner’s OK) |
| Steel pipe set in concrete | Medium | Good to very good | Farms, docks, construction, off-grid sites |
| Hinged or tilt-down pole | Higher | Good | Sites where you need to clean or service without a lift |
| Guyed mast | Medium | Good if tensioned | Tall views on a budget, with space for anchors |
| Wood post | Low | Fair, can twist as it dries | Low cameras on rural sites |
Products for pole mounting
Specs below are the makers’ own, from their product pages. Price checked 2026-10-07 on the maker’s store.
AXIS T91B47 Pole Mount
- Two versions: 50–150 mm or 100–410 mm poles
- Marine-grade SS316L stainless straps
- IK10 vandal and NEMA 4X corrosion ratings
Reolink RLC-811A
- 838 g, IP67
- 4K 8MP, 5x optical zoom
- PoE 802.3af; $97.99 at Reolink, checked 2026-10-07
Do these next
- Size the solar panel before choosing the pole.
- Plan the internet link for the remote spot.
- See pole cameras on the map: ski runs, docks and fields.
Questions people ask
What size pole do I need for a camera?
A camera alone fits almost any sound pole; 2 in (60 mm) steel pipe is common. Add a solar panel or dish and you need a stiffer pole, often 3 to 4 in (89 to 114 mm), with a foundation designed for your wind speed.
How do I attach a camera to a round pole?
With the camera maker’s pole adapter and stainless steel straps, or with matched U-bolt clamps. Avoid hardware-store hose clamps, which stretch and rust.
How much wind force does a solar panel put on a pole?
Roughly 0.613 u00d7 speedu00b2 u00d7 area u00d7 1.2. A 0.5 mu00b2 panel at 30 m/s (108 km/h) sees about 330 N, around 25 times the force on a typical camera.
Why does my pole camera image shake?
The pole sways or the mount is loose. Use a stiffer pole, keep the camera close to it and below the top, retighten straps and consider guy wires.
Does a camera pole need grounding?
Yes. Bond a metal pole to a ground rod and the building ground, and fit surge protectors on long Ethernet runs. Have a licensed electrician do it to code.
Sources
- AXIS T91B47 Pole Mount product page (checked 2026-10-07)
- Starlink Mini specification sheet (dimensions) (checked 2026-10-07)
- NFPA 70, National Electrical Code (checked 2026-10-07)
- OSHA QuickCard: Portable Ladder Safety (checked 2026-10-07)
- Reolink RLC-811A specifications (checked 2026-10-07)
- IEC 62262 Degrees of protection against external mechanical impacts (IK code) (checked 2026-10-07)
Last reviewed October 7, 2026 by the LiveLocation team. General information, not legal or electrical advice.